
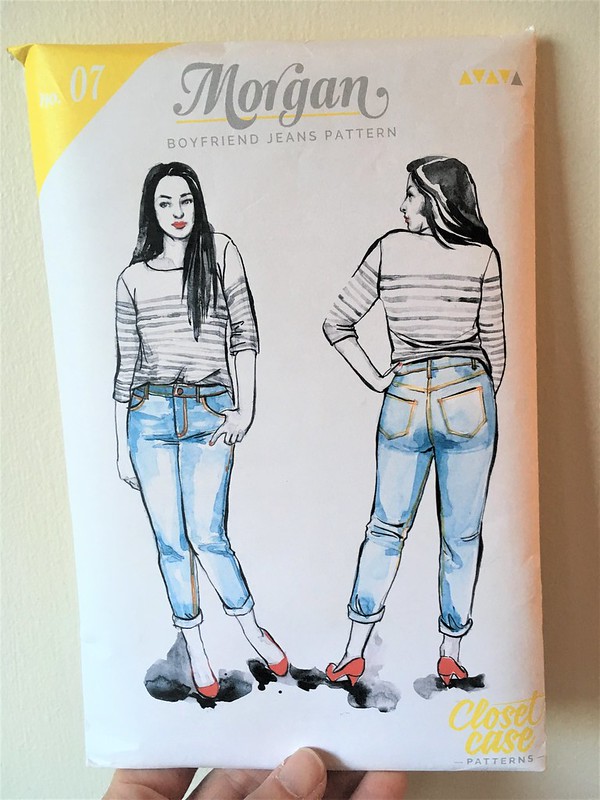
I’m working through a batch of transitional garments as we go from warm to cool weather, and first up is a pair of Morgan Jeans from Closet Case Patterns.

I made a short pair this summer, and wanted to try a full-length pair, hoping for some pants that would be good for daily wear and that I could layer over long underwear in the cold weather.
l

My measurements put me in a 14 waist and 16 hip, but as I discovered this summer, that 14 waist is just too small. I ended up adding extra fabric at the top of those pants, so I wrote myself a note to make a straight 16 next time. Well…as I read the description, I noticed that these are drafted to fit closely, assuming that the non-stretch denim will relax over time. I don’t love tight jeans and I wanted these to fit over long underwear in winter when layering is an act of survival, so I chickened out on the sizing and decided to trace an 18 to be safe.

I was lucky enough to be visiting Fabric Place Basement in Natick, MA when they were having a denim sale and, after vacillating between some non-stretch selvedge denim that was 30″ wide and a 60″ wide non-stretch denim, I went with the wider fabric, not least because I could make two pairs of jeans for the price of one in selvedge denim. The more thrifty I can be, the more projects I can make! That’s a huge consideration for me. Happily, I managed to get enough denim to make a pair of jeans for about $15.
l
l

l

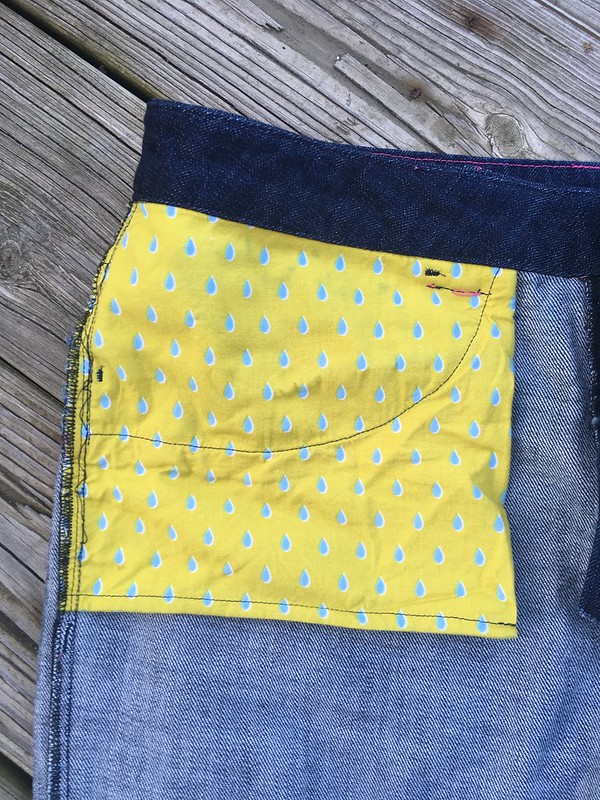
The pattern and topstitching thread came from Pintuck & Purl, as did the Cotton + Steel fabric I used for my pockets. It was left over from this shirt.
My jeans buttons are from Wawak.

As far as the pattern goes, here are my notes:
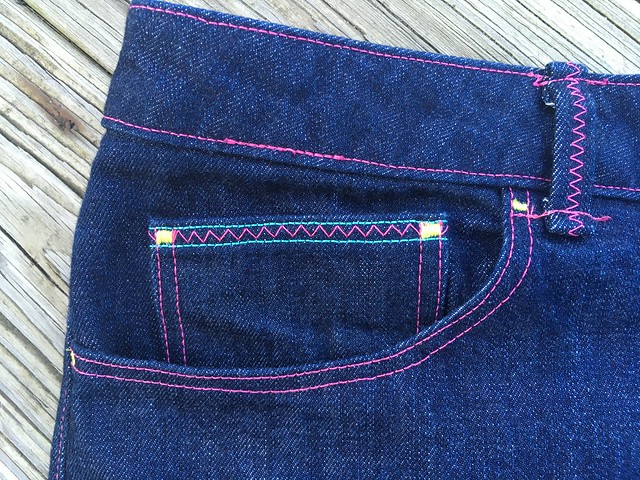
- I bound the edges of the pocket facings with bias tape, because I think it looks really nice.

l
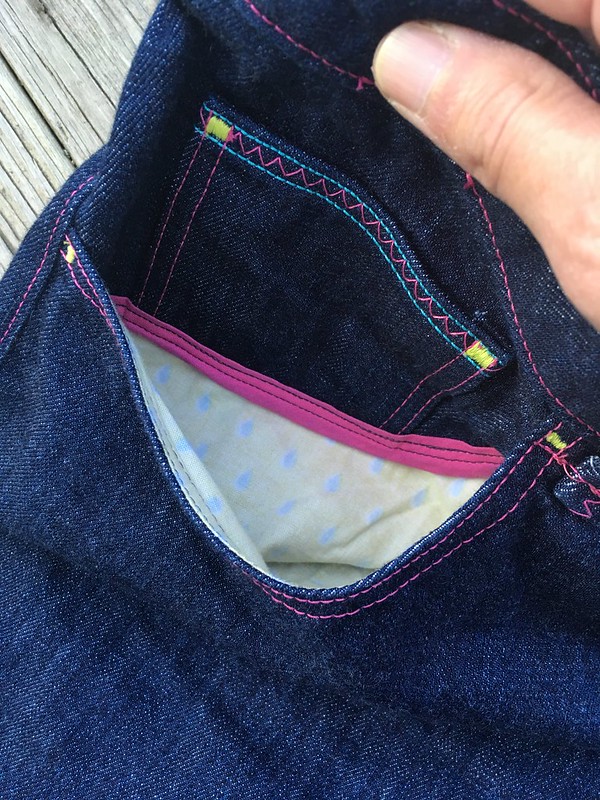
- I also like the look of French seams at the bottom of the pockets (this is a suggestion in the pattern).
- I recommend sewing your buttonholes, slicing them open, and using Fray Check on them before you sew the fly placket into your pants, just in case you have issues. It’s not such a big deal to recut the piece and redo it before sewing it in. I accidentally sewed my bright thread on the bottom of my fly placket, so next time if I want contrast stitching, I’ll put it for my top thread and in the bobbin.

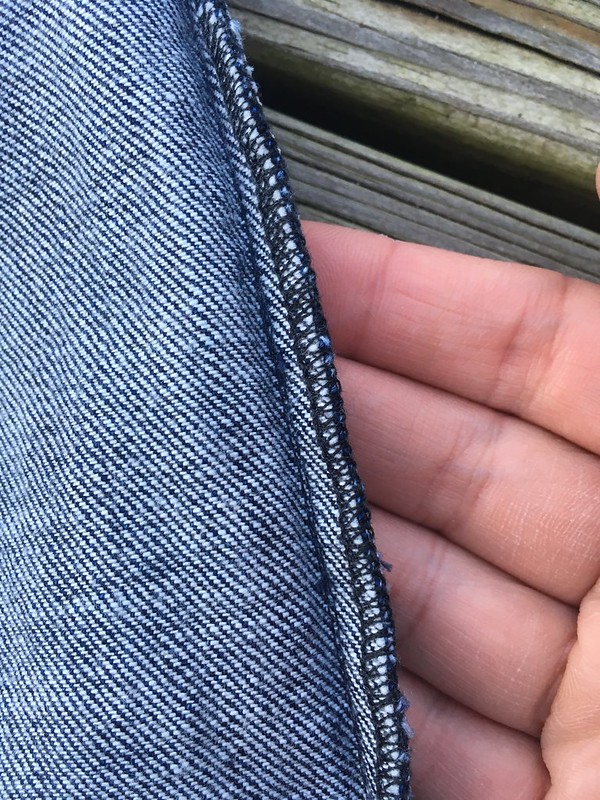
- One thing to note, my button fly placket extended above the top of my pants. I think I should have matched the top of my fly shield to the top of my button fly placket, because I matched the top of it to my pants and it was weirdly low. I had to trim it and finish it with my serger. Incidentally, I have a new-to-me vintage serger that is working!!! I was able to use it to finish my seams. A billion thanks to Pintuck & Purl for servicing it!
More tips:
- When putting the back together, wait to trim the seam joining the yoke and back legs until after you have topstitched it–then you don’t have to worry about missing the seam as you topstitch.
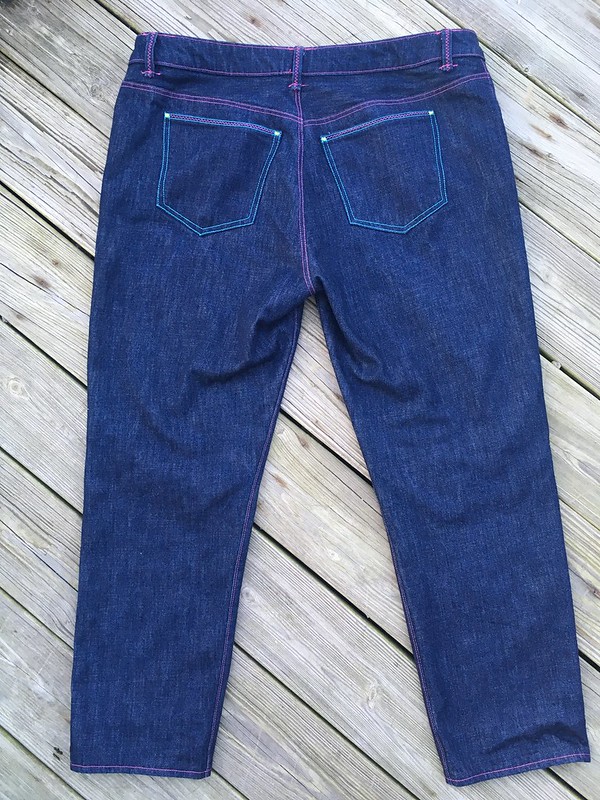
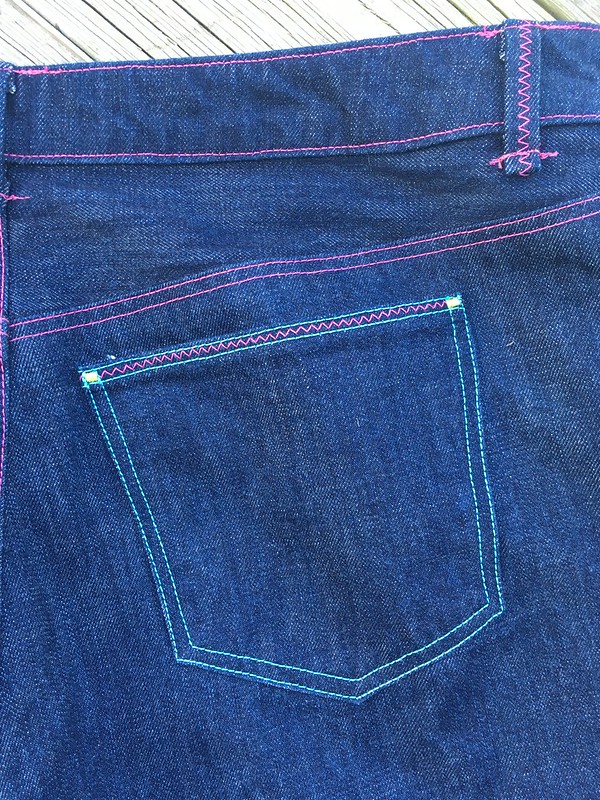
- As Heather, the designer, suggests in her Ginger Jeans sewalong (in this post), it makes sense to finalize your back pocket placement at the end so you can put them in the optimal spot for your unique back side. In the end, I moved the pockets a little bit, but not too much.
l
- One other new thing I tried was installing the waistband using Lladybird’s tutorial (skip to the end of the linked post). It was really helpful and makes so much sense. The gist of it is that you sew your inside waistband seam first so that when you are turning under the seam allowance and finishing the waistband, you are topstitching from the outside, and you never have to worry about catching an inner facing–it’s already attached. It makes more sense in the post, but it’s a very logical order of steps. I like it.
- I interfaced my waistband this time to make it less stretchy, but I really should have graded my seams better around where my buttonhole was going to go. I had to sew through so many layers to make my buttonhole that I ended up fudging things to make it longer and it still takes a good amount of effort to get that top button buttoned and unbuttoned. You don’t want to have a bathroom emergency in these pants!

Last tip:
- Use Fray Check on the edge of your belt loops to keep them from fraying every time you wash them. It doesn’t take care of the fraying entirely, but it helps.
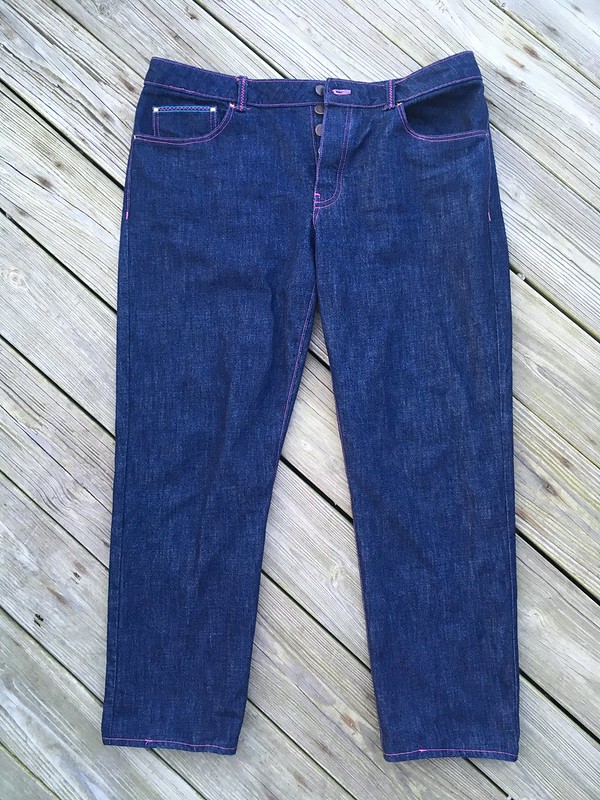
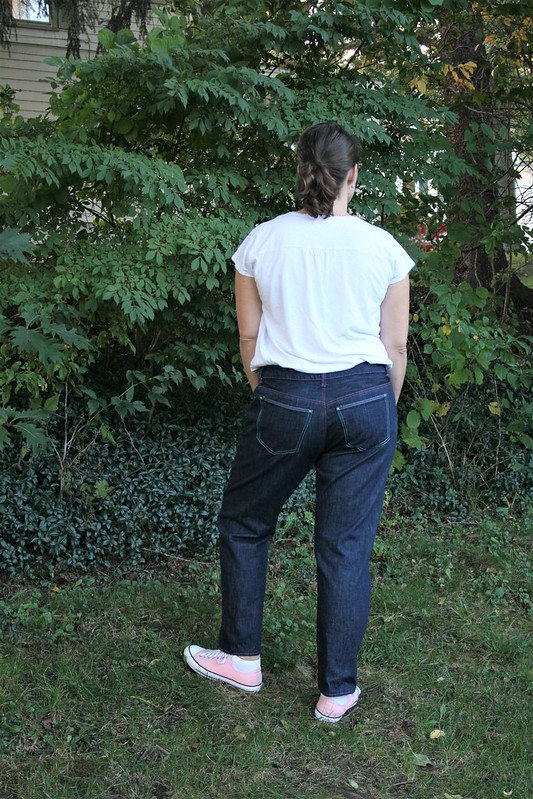
All right, now after all of that, what’s the final consensus? Well…my jeans are really comfy…they will fit over long underwear…but they do look a little big.

They’re perfect when they come out of the dryer…for about 5 minutes, and then they are comfortably loose. Also, it may be the style with boyfriend jeans, but I’m not sure that I like them cuffed.

So I guess I’ll have a better take on them after wearing them during cold weather, but my gut feeling is that, especially if I were to make these in a thinner denim, I should go down to a 16. Or maybe I should just look for a pair of pants with a straighter, wider leg. I think I convinced myself that these were like that, but they really are a closer fitting, non-stretch jean, which is actually obvious from the cover art and the sample photos. Well, live and learn! That one’s on me! 😉

The good news is that whether or not these are the perfect jeans for me, the pattern itself is high quality and well done, which is consistently true with Closet Case Patterns.

Wow! You made jeans! I am just so impressed when people tackle what I consider technical sewing. I think they look good, but it’s all in how an item feels on our body. Thanks for blogging and your notes on the pattern.
LikeLiked by 1 person
Thanks so much for your comment. I have learned that I need to wear a garment for awhile before making a definitive judgment, so we’ll see what I think in a few months. I hope you try jeans someday. If I can do it, I’m sure you can!
LikeLike
Great Jeans – I love the top stitching that you did. It really makes them special. I love the look of the button up jeans, but I hate buttons in general so I had to laugh at your comment on bathroom emergencies – that would be me every time in a pair of jeans like this.
But seriously the sewing looks great on these.
LikeLiked by 1 person
Hahahaha! It’s all about knowing yourself! 😉 Thanks for the compliment on the topstitching. I’m really happy with it. It’s not perfect, but I like the overall effect and colors.
LikeLike
YOU are such a pro! Not sure if you thought about making them for others. Custom jeans. Seriously you are very talented. 🙂
LikeLiked by 1 person
Thanks so much! I don’t make many things for others. I feel that my fitting knowledge is very incomplete, which makes it tricky…and I just really like sewing for myself. 😏 I do have a short list of people I would consider sewing for, but not many. Thanks for your kind comment, though. I really appreciate it.
LikeLike
Love the pink top stitching!
LikeLiked by 1 person
Thanks!
LikeLike
Thanks for all the tips! I love the bias tape inside the pocket. I’m going to have to try that next time. Jeans are such an individual thing. I like mine loose but not too loose. So I’m pretty fussy about them! 😂😂 good job with yours though! $15 huh?
LikeLiked by 1 person
You’re welcome. I think you make a good point about jeans fit being personal. Thanks for that. As for the cost, I happened to visit that store when denim was on sale. The denim I bought was really wide, so I was able to buy less than if I had bought the narrow selvedge denim, and I already had the pattern and other supplies at home. I love a good fabric deal!
LikeLiked by 1 person
The relaxed fit looks nice, I think, but I’d try balancing the volume with either a tighter OR a looser top – right now the volume is a little low-contrast, and I think you might appreciate your cool new jeans more if you played with sizes a bit. : )
LikeLiked by 1 person
That is a great suggestion. Thanks so much for your thoughts. I’ll give it a try—sounds like a fun investigation!
LikeLike